Several features quietly depend on earlier steps — you can't create classes until the academic year is set, and report cards can't publish without a term calendar. Follow these in order and nothing will be blocked later.
~20 minDo it in orderOne-time setup
This walkthrough expands the first-time setup checklist into a step you can follow at the keyboard. Every step links back to the matching reference section if you want more detail.
Rule of thumb
If something later says "Set the school's current academic year in Settings first" or a list is unexpectedly empty, a prerequisite step below was skipped — come back here.
§ 01Set the academic year & term
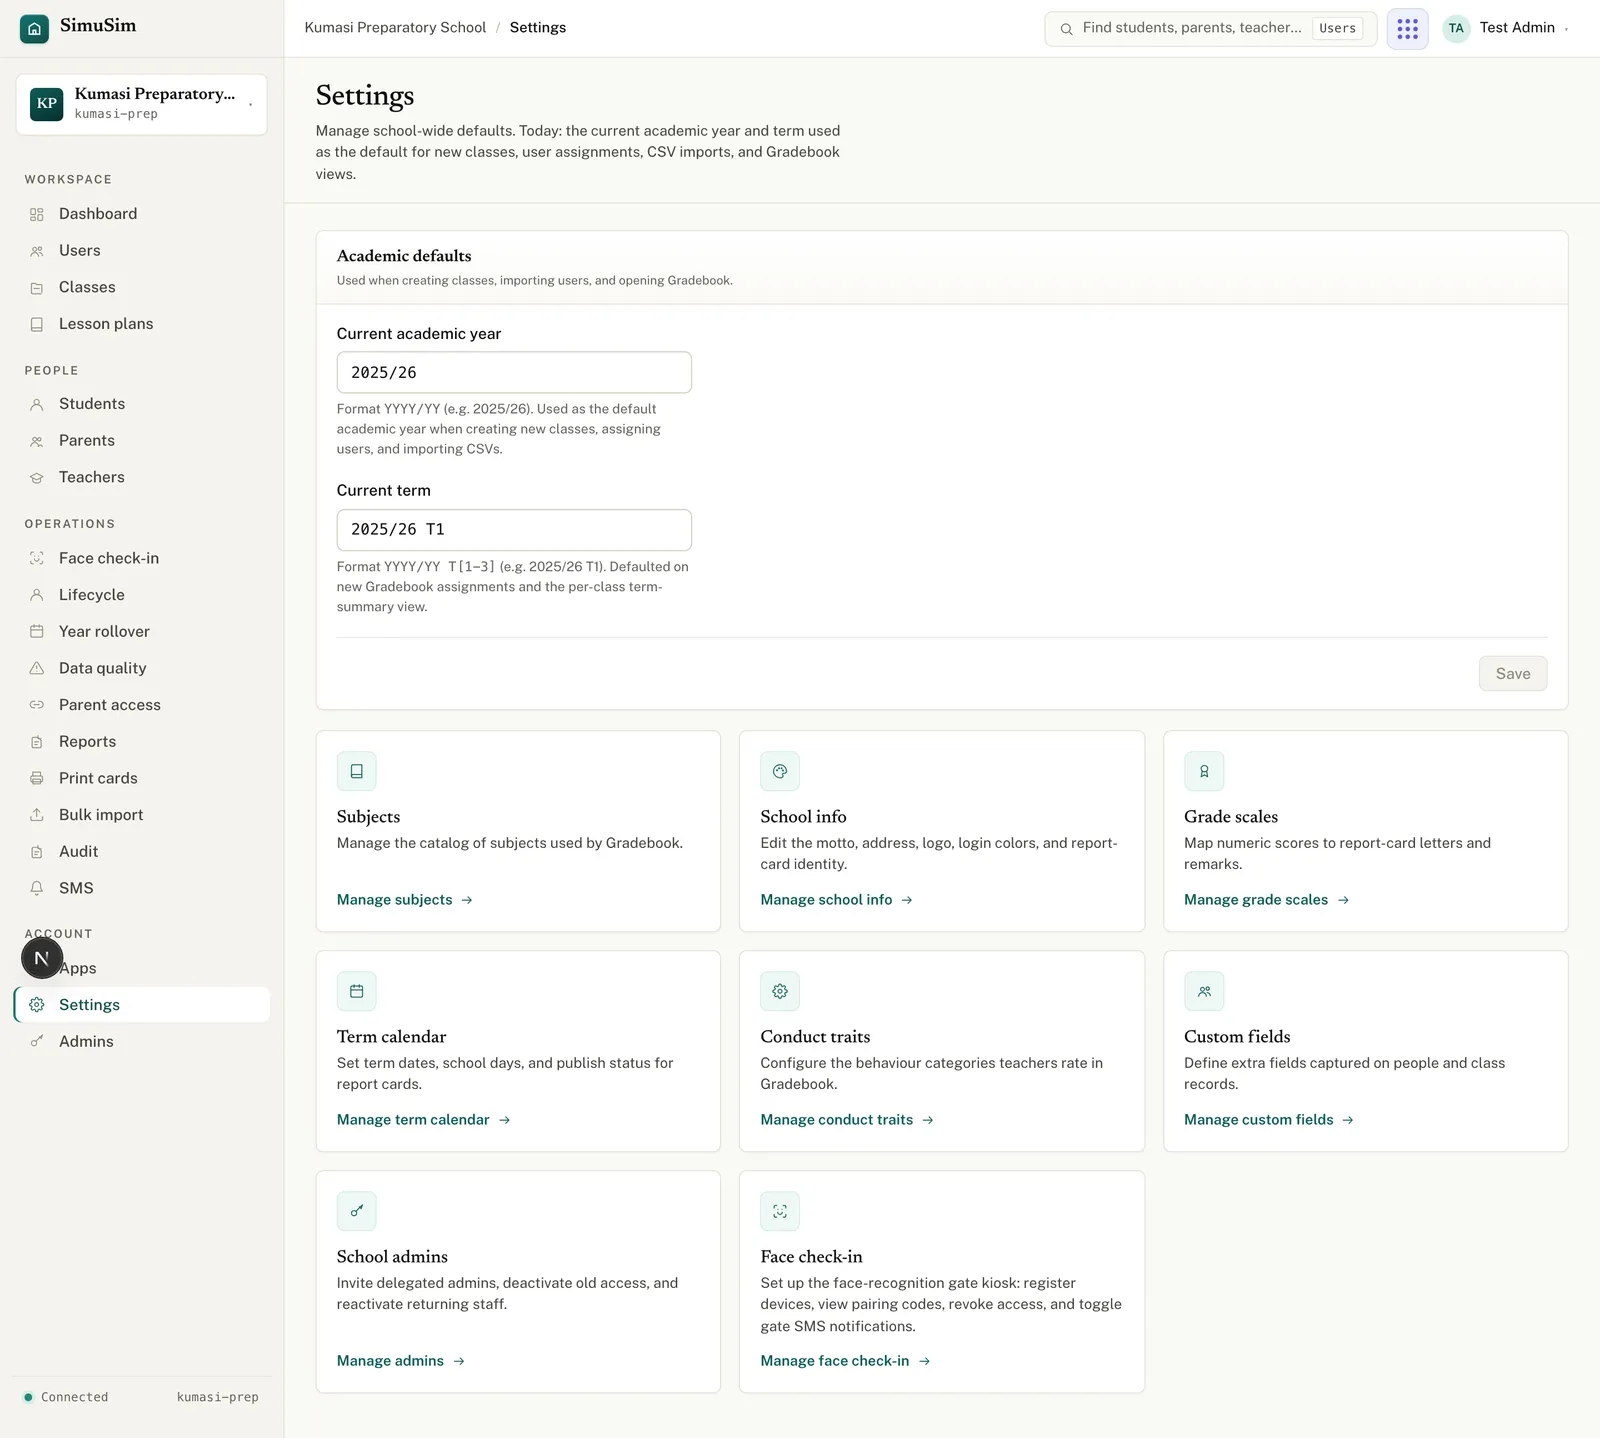
Open Settings. At the top, enter the Current academic year as 2025/26 and choose the Current term, then press Save. This is the default for every class, import and gradebook from now on.
Fig.The Settings hub. The year and term sit at the very top; each card below opens one area.
§ 02Build the term calendar
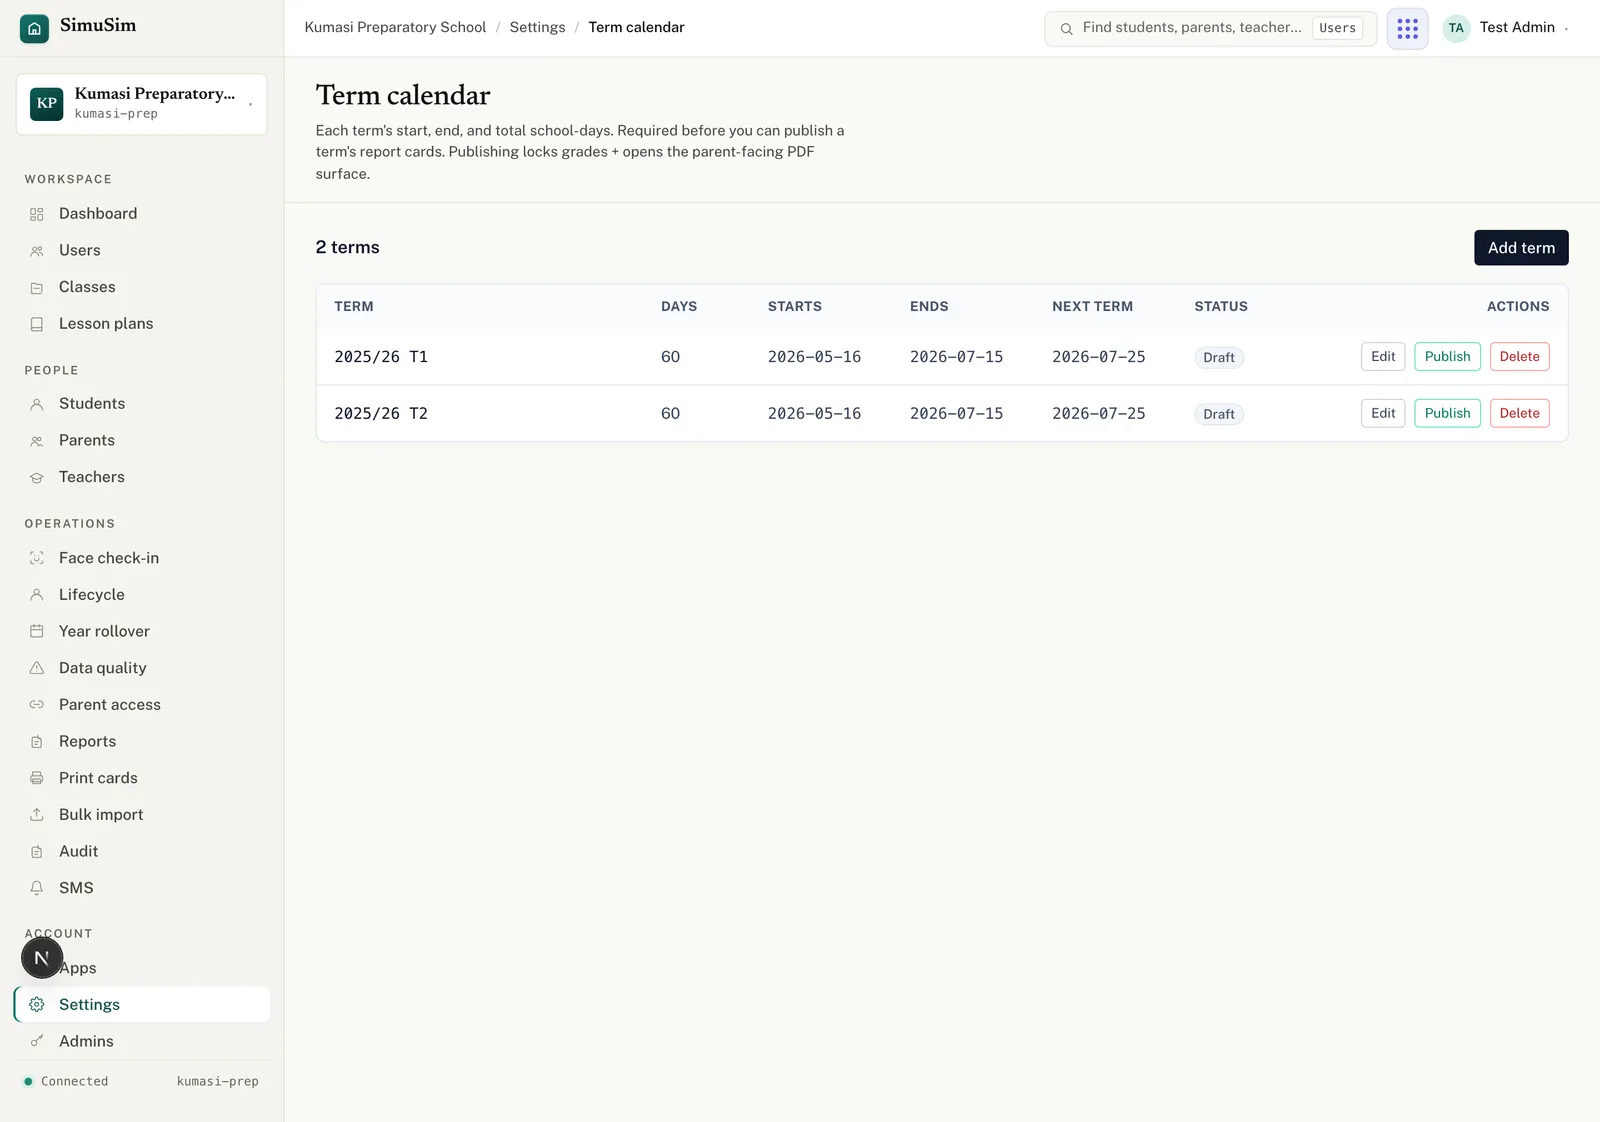
Open Settings → Term calendar. Add each term with its name (e.g. "Term 1"), start date, end date and number of school days. This is required before any term's report cards can publish, and it's what attendance rates are measured against.
Fig.Each row carries a Publish action — used at term-end (see the Report cards tutorial).
§ 03Add your subjects
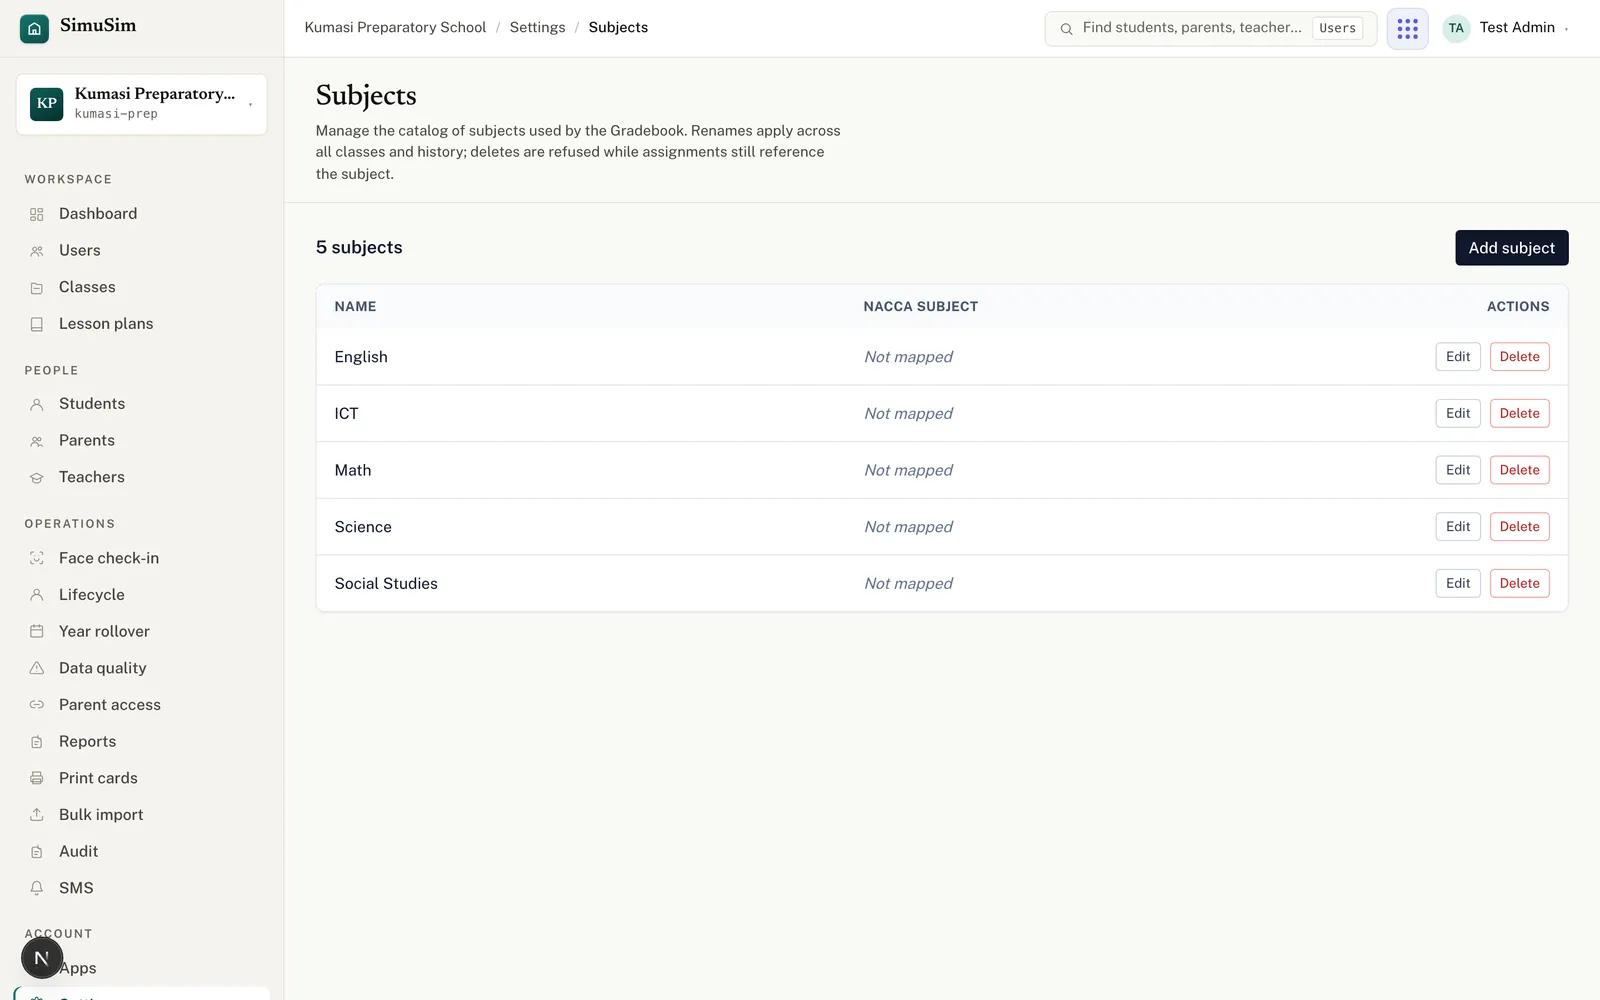
In Settings → Subjects, create every subject you teach (Mathematics, English, Integrated Science…). Renames apply everywhere, including history; a subject can't be deleted while classes still use it.
Fig.Subjects organise the Gradebook and lesson plans. Add them all now.
§ 04Create a grade scale
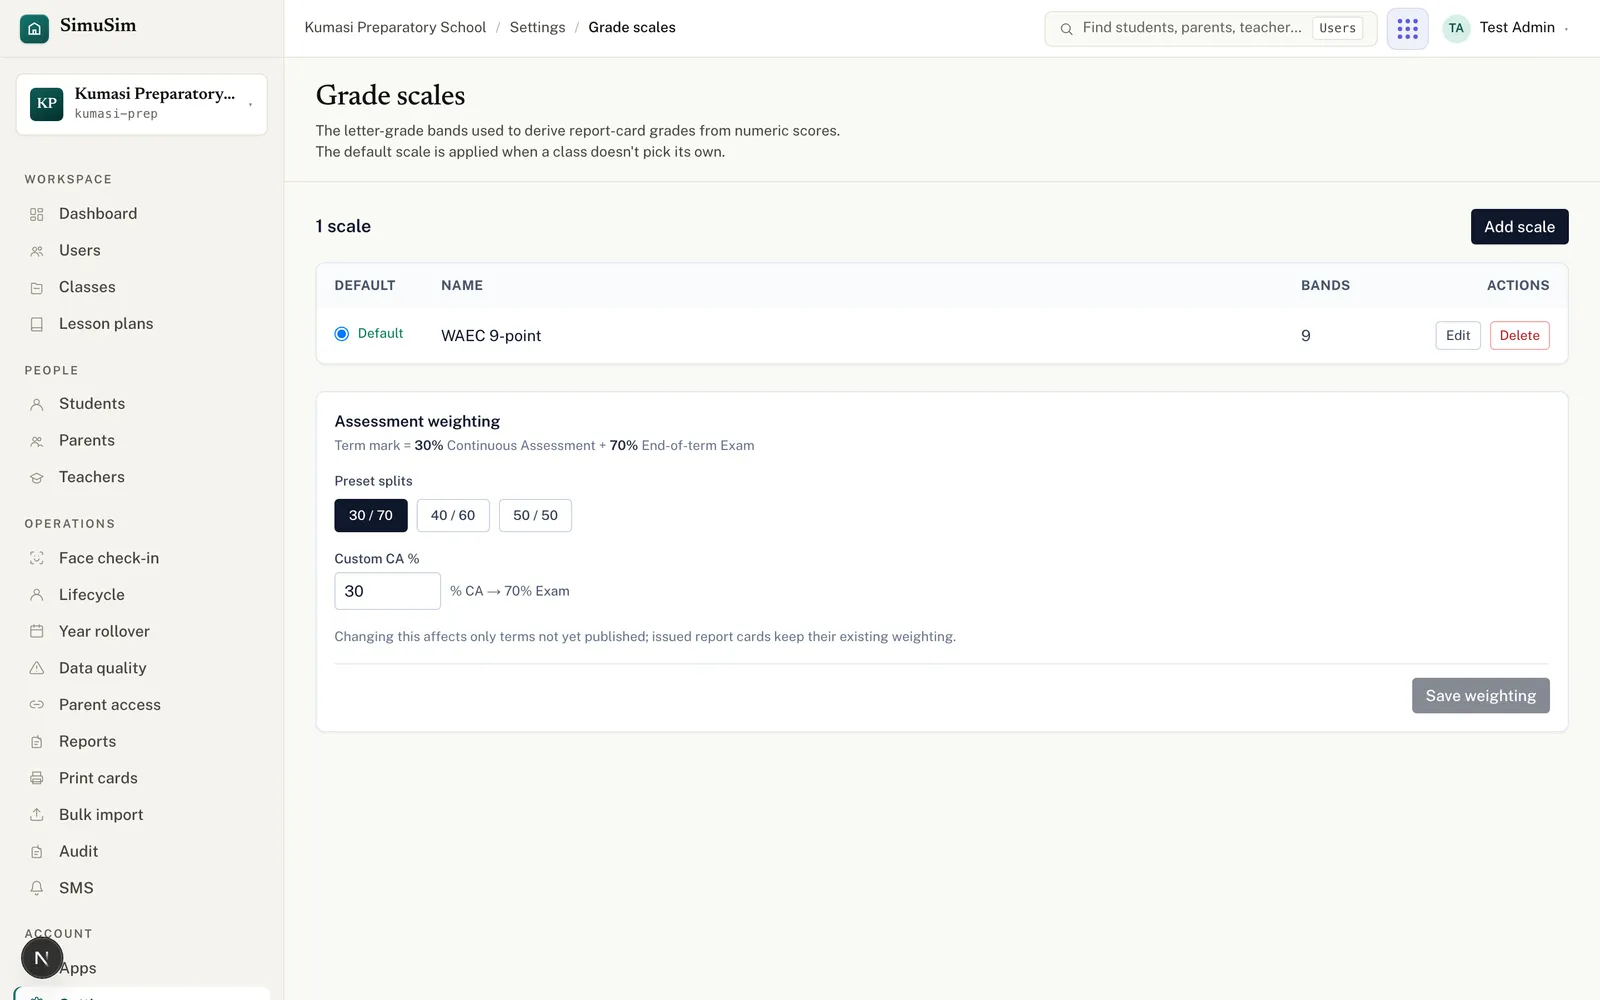
In Settings → Grade scales, press Add scale, name it, and add rows (min score, max score, letter, remark) — for example 80–100 → A → "Excellent". This is what appears on report cards.
Fig.Map score ranges to letters and remarks. Used wherever a grade is shown to parents.
§ 05Check conduct traits
Open Settings → Conduct traits. These are the behaviour categories (e.g. Punctuality) that teachers rate at term wrap-up and that appear on report cards. Adjust them to match how your school reports conduct.
§ 06Create your classes
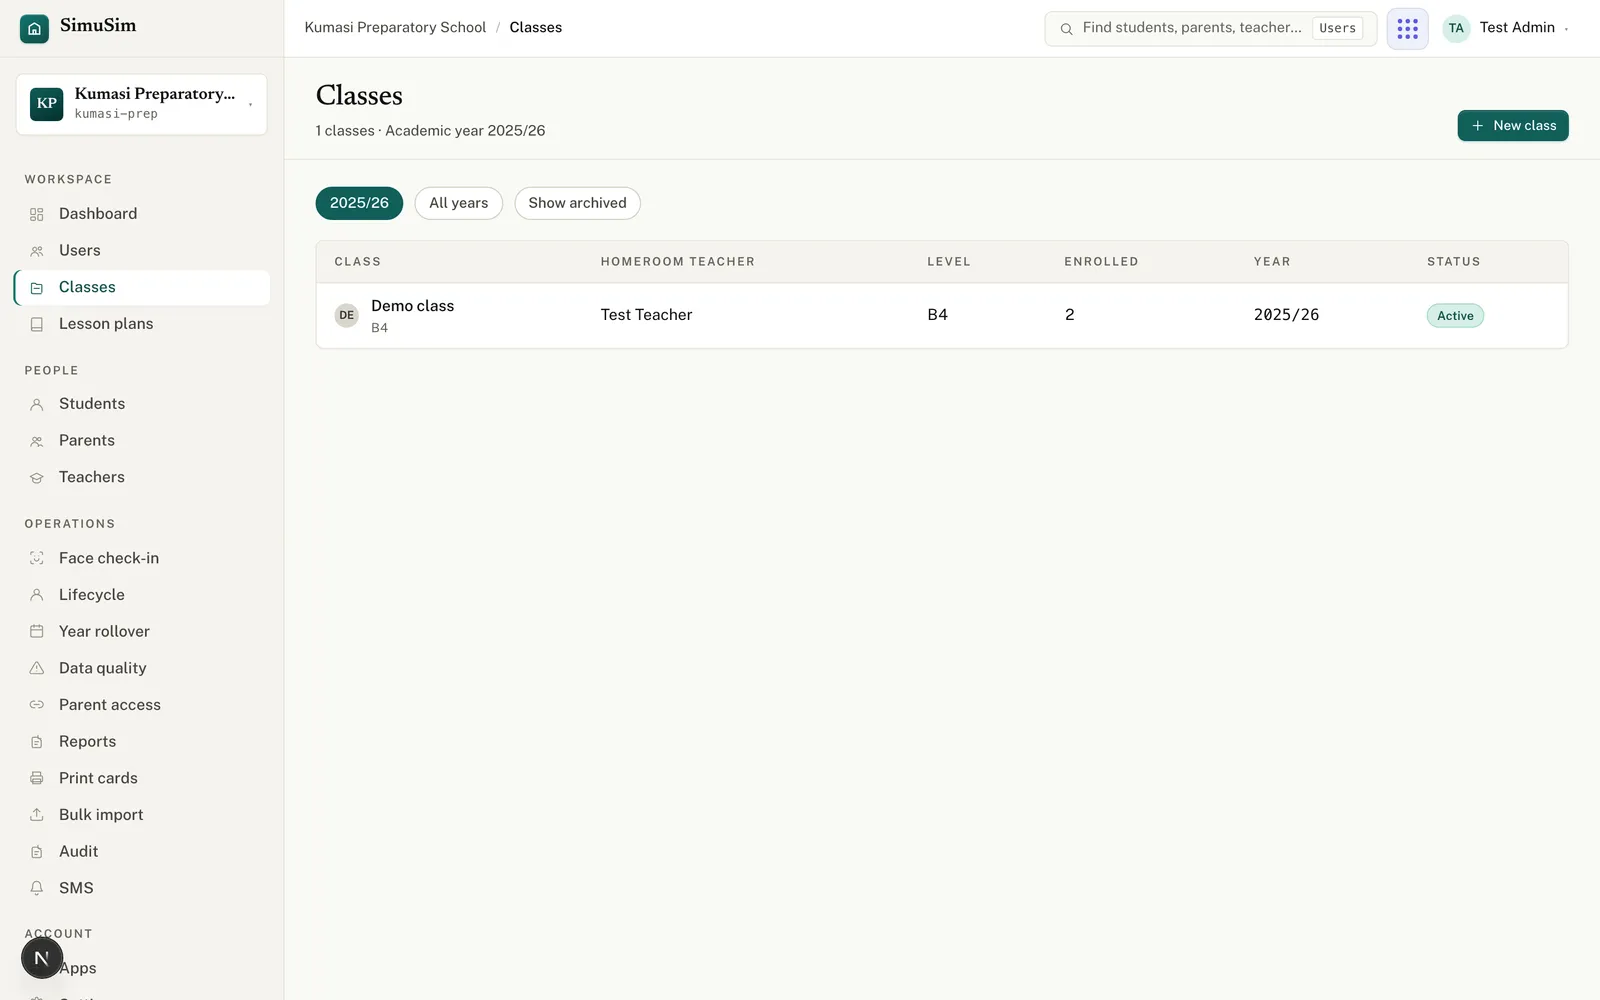
Open Classes → New class, enter the Label (placeholder JHS 1A), pick the required Level (the form can't be submitted without it), set the Academic year (pre-filled), optionally pick a Homeroom teacher, and press Create class. Repeat for each class — or let the CSV import create them for you in the next step.
Fig.You can also create classes inline while importing students or adding a single student.
§ 07Add teachers, students & parents
Add teachers first (so they're available as homeroom and subject teachers), then students, then link parents. One at a time via Add user, or in bulk via Bulk import.
Bulk import from CSV
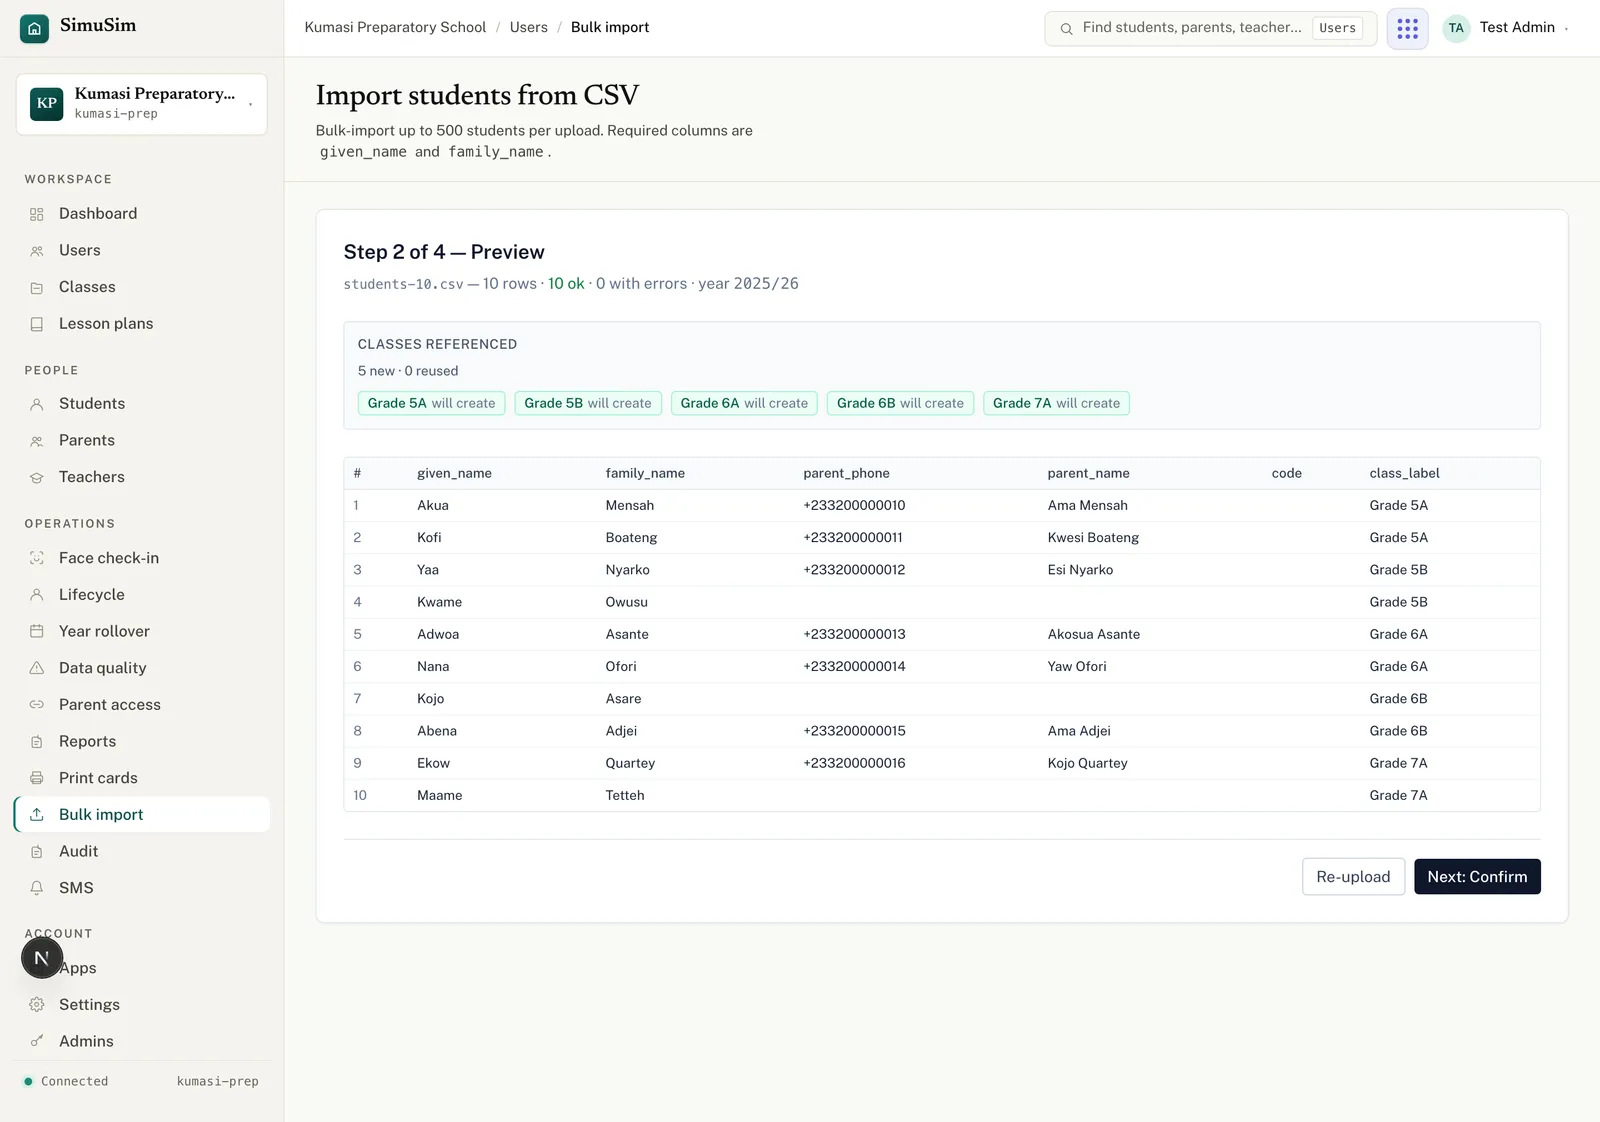
Open Bulk import. Step 1 — pick a CSV (columns given_name, family_name required; parent_phone, parent_name, code, class_label optional; ≤500 rows, ≤2 MB). It auto-advances to the preview.
Fig.Step 2 — Preview. Every row is checked, and you see which classes will be reused vs created. Then Next: Confirm → Import.
Full column reference and the four steps live in the manual.
§ 08Check app access
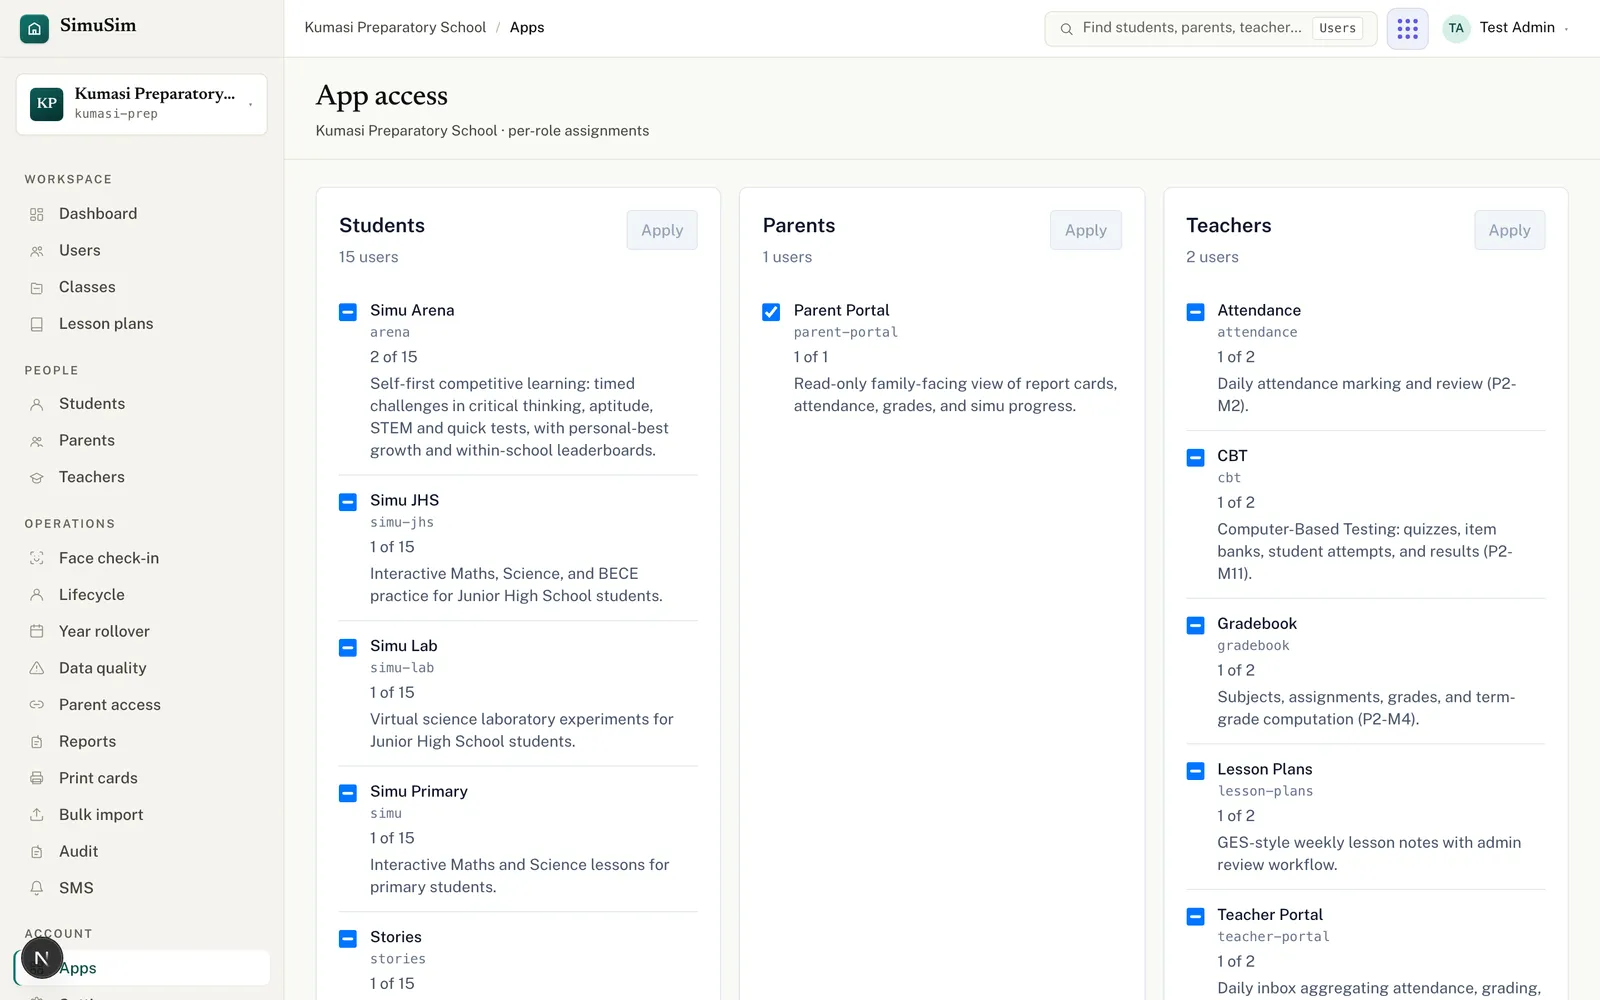
Open Apps and confirm which apps each role may use. New users typically also need their apps ticked on their own user page before the app shows up in their portal.
Fig.Tick or untick per role, then Save apps. Apps your subscription doesn't include appear greyed out.
§ 09Invite co-admins
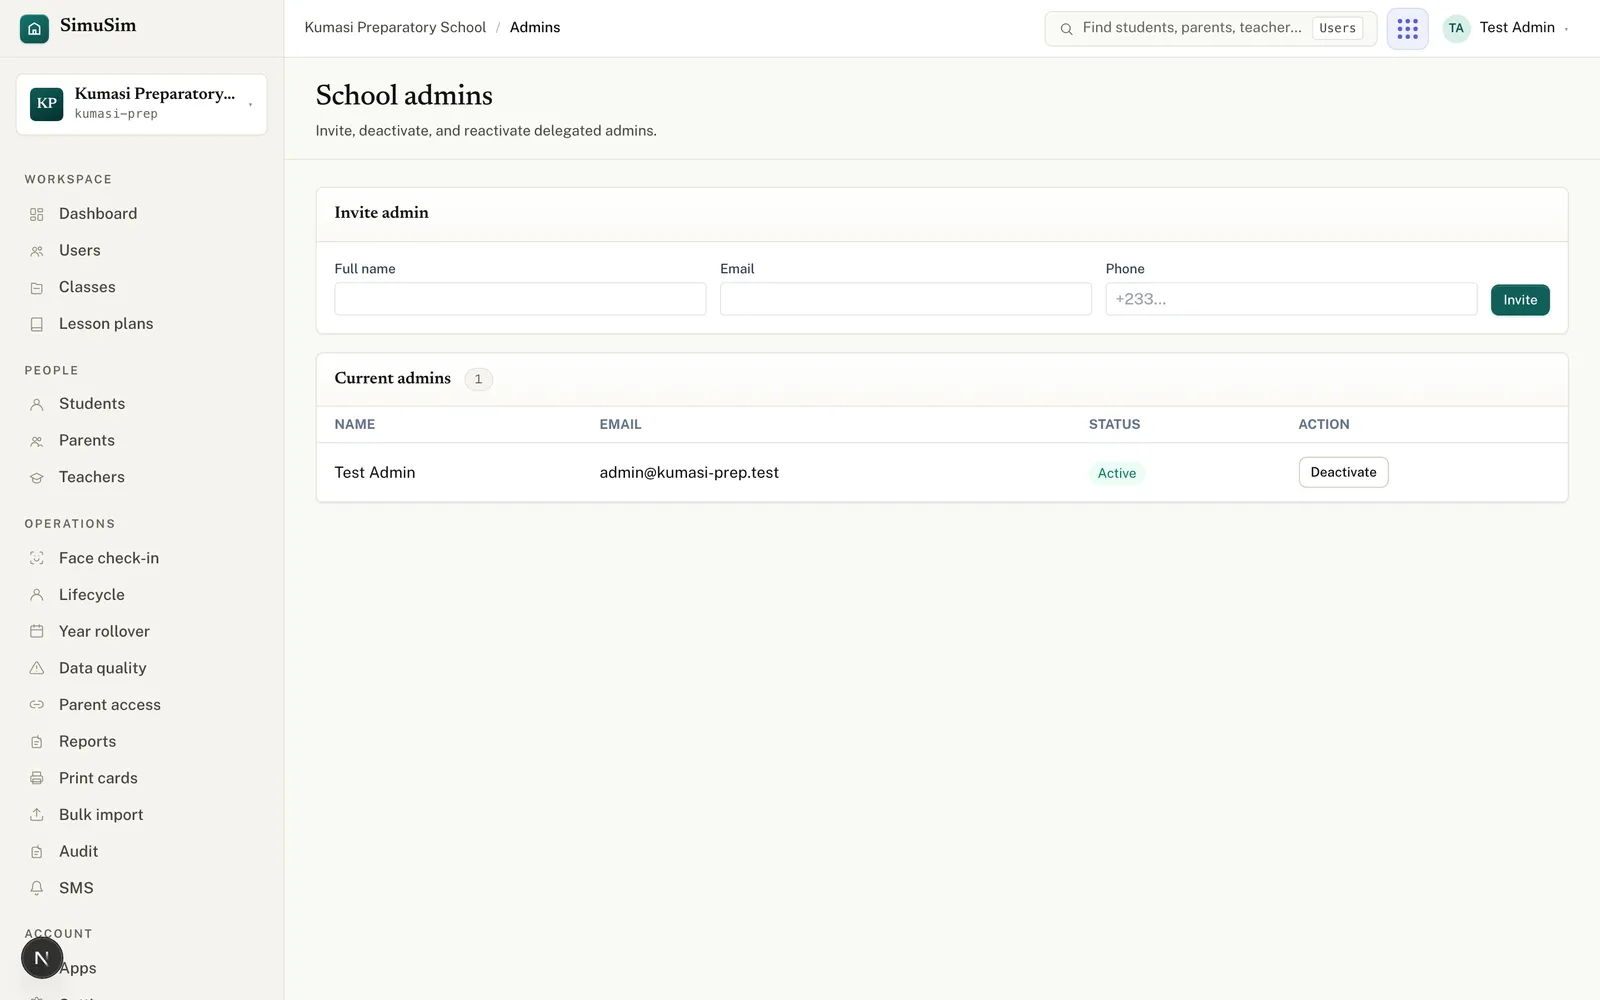
You don't have to run the school alone. Open Settings → Admins ("School admins"), fill Full name, Email and optionally Phone, and press Invite. They appear in the Current admins table, where you can Deactivate or Reactivate them later.
Fig.Co-admins get the same powers as you. Deactivate one the moment they leave the school.
§ 10Print everyone's login cards
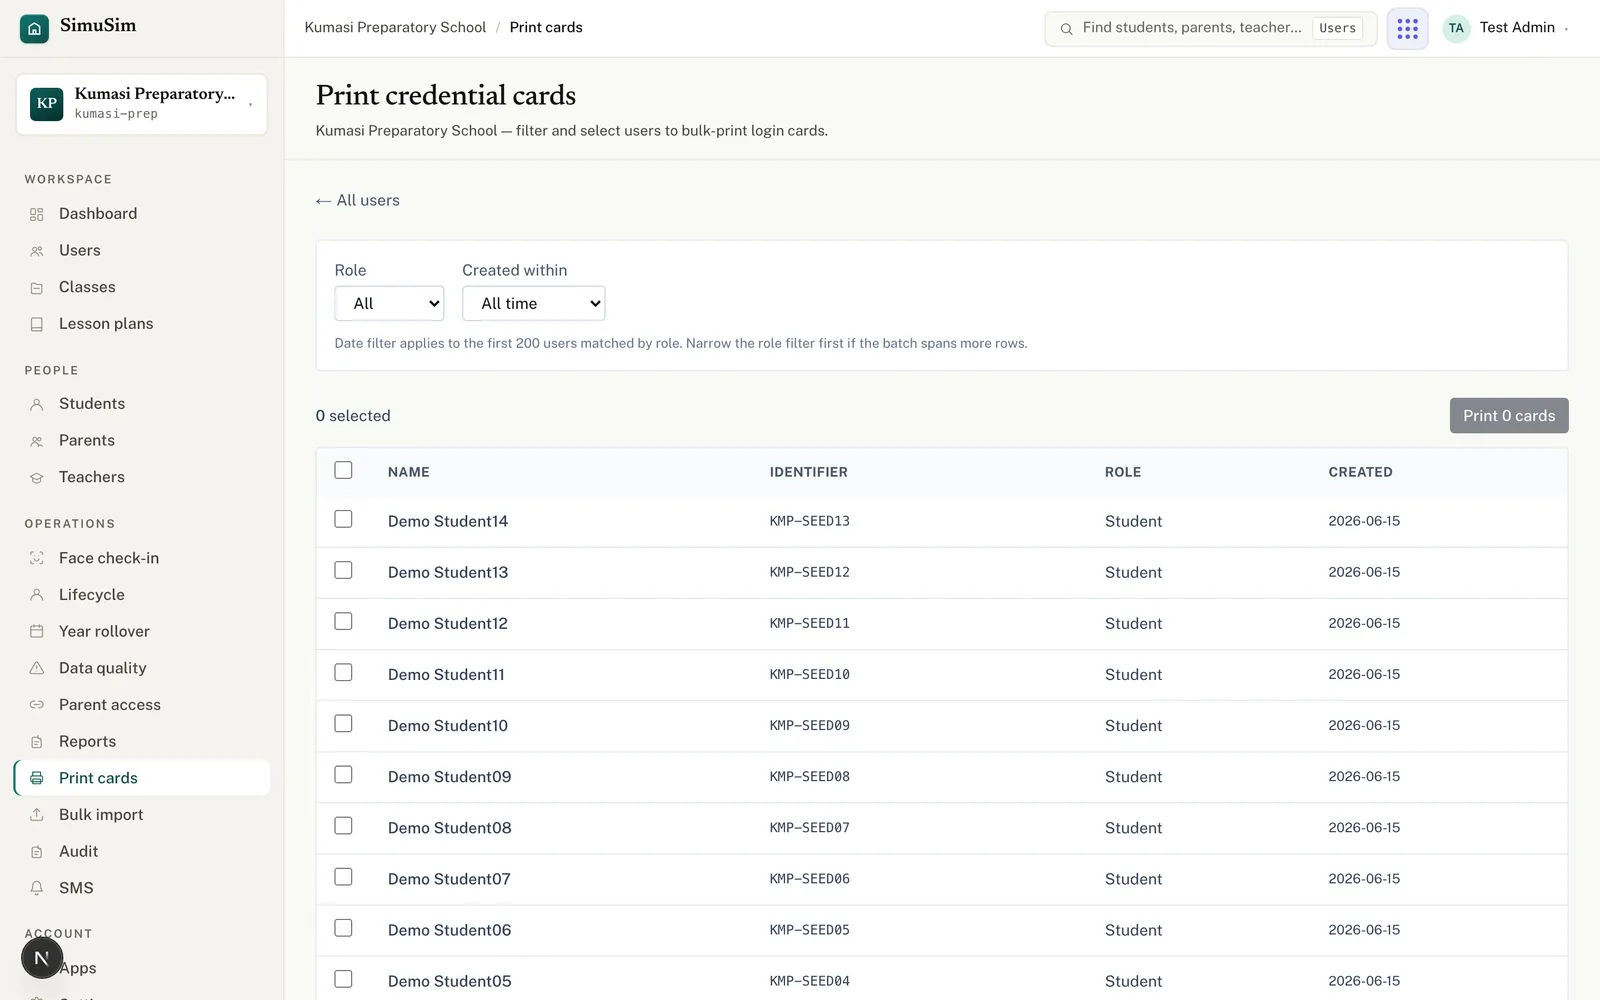
Finally, open Print cards, filter to Last 7 days, Select all, and Print cards. Cut and hand them out — your school can now sign in.
Fig.Print right after creating accounts — PINs only print for ~15 minutes, then show ••••.
Done
Your school is ready. Next, learn the term rhythm, and bookmark the troubleshooting page for the questions staff ask most.